Showing posts with label sewing. Show all posts

Wednesday, May 6, 2015

The Free Spirit Tank by Patterns for Pirates


I have once again been honored to test for Patterns for Pirates. This new pattern, the Free Spirit Tank, is loaded with options. From dress length to cropped top and everything in between, this is going to be your go to summer staple! I made myself not one but TWO tank this week! First, I did the curved hem then the hi/lo. I love the hi/lo stuff!


If you haven't worked much with knits, don't fret. This one is easy and you can even leave the bottom hem raw if you want. I tried hem tape for the first time on this one and I loved it! I will be using it more often from now on! Beginners can sew this pattern! For those well versed in sewing with knits, this one will be a quick project to add to your summer wardrobe! (the thermometer in my van hit 90 here today, so just in time!)


I love the coverage under the arm and that the neckline isn't too high or too low. Sized for XXS through Plus 3X, this pattern will fit everyone. My 16 year old can't wait some new tanks to wear to band camp this year! It comes in both a full back and racer back! And you should see this bow option! You have to head over to the Patterns for Pirates Sewing Group on FB and check out all the testers' pictures! The possibilities are endless! For a Limited time only, you can get the matching girls pattern Talor Tank by Made for Mermaids in a bundle set! TWINSIES! Head over now and grab these summer staples!


Tuesday, March 4, 2014

The Nelle Sew Along Series: Perfect Bias Tape

Day two of the Sew Along! Okay, for those who love the look of the bias tape on the arm holes but end up with a hot mess, here's Raedene of Chasing Mermaids with her tried and true bias tape method. P.S. I REALLY want a bias tape machine now! Click here ----> LINK!


Repeat from Yesterday: There are some patterns out there that you never get tired of sewing. The Nelle by Brownie-Goose is one of those for me and everyone contributing to this series. This blog series will cover tips, tricks, and over the top add-ons to this classic pattern. Be sure to stay tuned!

DAY ONE: Bias-Less Arm Holes by Lollipops & Paisley
DAY TWO: Perfect Bias Tape by ChasingMermaids
DAY THREE: Twirly Skirt Tutorial by Sewing Sunflowers
DAY FOUR: Ric Rac Details by Lemon drops and Lollipops
DAY FIVE: Buttons, Pockets, and Flowers, Oh My! by Lollipops & Paisley

Now you make think, why should I bother? Well, here's why, Mother Goose (AKA Amy) is going to offer an incentive to participate in the Sew Along! HAPPY DANCE! So there will be 3 ways to enter. First, just anyone who shares with the Brownie-Goose lovers group on Facebook will get a chance to win a free BG pattern, winner drawn via Random.org. Secondly, we'll have a voting contest on the same FB group for fans choice award, prize is a free BG pattern. Lastly, we'll have an Instagram (because who doesn't love IG?) tag contest for a chance to win the third free BG pattern. Just use #nellesewalong to tag your finished project pics. Each finished project will get an entry and winner drawn via Random.org. The Sew Along Blog Series will run 5 days and then we'll give everyone a week to plan projects, sew them, and then post finished pics in the various places. That means this giveaway will close Sunday night on the 16th. We'll leave voting open on the sewing group for 24hrs and then winners announced on the 18th. Please comment below with any questions!

Tuesday, February 4, 2014

Who Wants to Win a Serger?

Okay, I'm sharing a giveaway link here for Seamingly Smitten Sewing Patterns. If you sew clothes and don't yet have a serger, get one!!! I love it!


I LOVE my serger and would LOVE to own a second. Yes, I said a second one! WHY? I mean, who on earth needs TWO machines that do the same thing? Well, I do! I want to set one up to do rolled hems and the other to do regular seam finishing. See? I'll use them for DIFFERENT functions. This will save me SO much time in having to change out threads and switching settings, then going back again.

So... I'm entering, are you? http://seaminglysmitten.blogspot.com/2014/02/brother-1034d-serger-giveaway-by.html

Oh, and if you want to see a picture of one of Seamingly Smittens patterns that I've made, here you go! I love this little knot dress!


Saturday, January 18, 2014

Swizzle Sticks Sleeve Add-on

Candy Castle Patterns has done it again! First, let's look at the Princess Dress, which is one of my favorites.


Look at that gorgeous, slim-fitted sleeve. While it is beautiful, it doesn't really fit every body type. Candy Castle Patterns just released a new version of sleeves, yes, multiple sleeves! This new Swizzle Sticks Sleeves pattern will work on both the Candy Castle Princess and the Peppermint Swirl dresses.

I was lucky enough to test one of the options for the new sleeve pattern. I added the short sleeve option without elastic to the Princess dress without the top skirt. This is my daughter's Easter dress!


The sleeve options include a long sleeve with or without a ruffle and with or without shirring (and faux shirring) and then short sleeves with or without elastic. You can mix and match to your heart's content.


I know what you're thinking, $4 for a sleeve add-on? The dress patterns are priced very reasonable at $8 and each of those already has quite a few variations included. The new sleeve pattern adds MANY more options to that! It has it's own drafted, nested pattern pieces. The instructions for each option are so detailed that it would add far too many pages to each pattern to update them both. Candy Castle Patterns put many hours into drafting, designing, photographing, and revising these sleeve options that it's only natural that she would want a small compensation for it. I mean, when we sew an item to sale, we do want to get paid for our time and supplies both, right? Pattern designers only ask the same. So head on over and get your Swizzle Sticks sleeve option!

Monday, January 13, 2014

Frozen Part Two {The Elsa Dress}

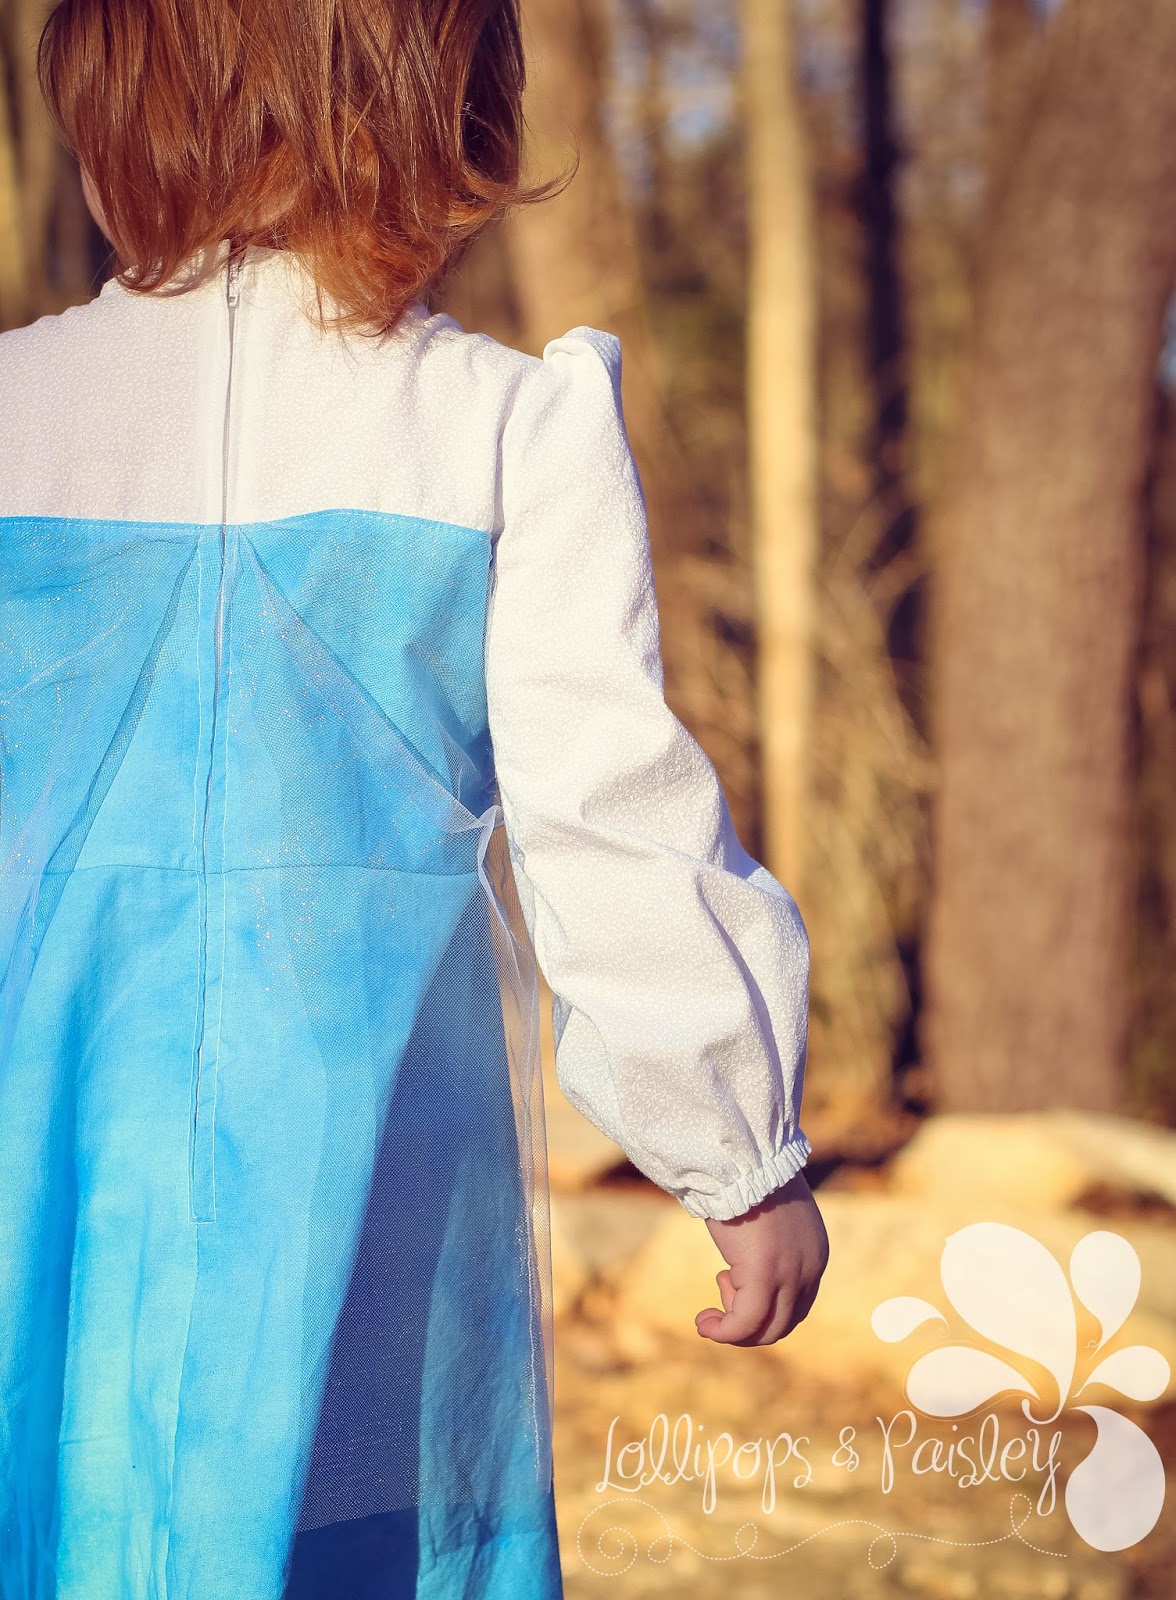
My little girl is ALL over the newest Disney princess movie, Frozen. I tested the Anna dress pattern back in December. You can read about it here. Last week, I was honored with the chance to test Elsa in the Everyday Princess line. My little girl was ecstatic! {HAPPY DANCE!}


This pattern is sized for 2-8 years. You can make it with MANY fabrics. I chose cotton wovens for the bodice and skirt then added a glittery tulle overlay for that very Elsa look. You can also use chiffon, satin, silk, sheers and even knit to make this dress!


The dress does have a zipper in the back, but don't let that scare you! She's got a great tip for zippers and it's really very simple to sew. I'd rate this dress as an advanced beginner. You use single fold bias tape for the sleeve casings and he neckline but it's a very simple method.


I was afraid of using a sheer for top bodice. I've sewn with chiffon before and that's a fabric that's I've learned to leave alone. Chiffon and my machines do not get along. However, I did branch out of my little comfort zone and use TULLE for the first time. Yep... my first time. Nope, I've never made a tutu! GASP!


The skirt portion is a circle skirt. If you can get your little girl to twirl (mine would not in the cold temps when we took pics on Sunday), this is a fun dress for it! The overlay comes just short of the bottom of the dress, but you could also cut your dress and your overlay longer if you prefer. You could leave off the overlay if you're afraid it would get in the way!


The dress does have quite a few steps to it but the love and excitement in my little girl's face when she saw the dress makes all those little steps worth it! Cut to finish, I'd say this dress took me no more than three hours. It's currently $7 over at Made for Mermaids on Etsy. Be sure to pick up this pattern so your little princess can add the wonderful Elsa dress to her dress-up trunk! And if you haven't already done so, add Anna to your cart! And if you make doll size dresses... add the dolly version for $2! If you prefer to order one custom made, check out my listing.


Monday, January 6, 2014

Tie Dye Diva Retirement Party!


Okay, Okay, Okay... cool your jets! Jen at Tie Dye Diva is still going to be making new patterns and designs for all of us! But she is retiring 11 patterns. As a big send-off, she's giving you one last chance to buy them all at once at one low price of $15!

So those pants third from the top on the left? I LOVE those! I love them so much that I bought the pattern and have made multiple ones! I have several of the other patterns as well, but those pants are a MUST! They have a skinny tapered leg. They have options for pockets that hide all kinds of treasures. I love the details you can add with bias tape (the pattern includes a tutorial for making your own ON THE BIAS) or ruffles on the pockets. You can add ruffles to the legs. You can make the waistband with contrasting fabric. The possibilities are endless! So here are a few of the Snazzy Pants I've made. 

First, the pants... Both of these were constructed before I started my business, so photography was minimal... this are phone pics pulled from my FB page!


Then there's the shorts... Colin LOVES this style! The pockets are his favorite. He no longer wants pants or shorts without pockets! I love the details you can add with contrasting fabrics! And the pockets only take a little bit!


So head over before the 11th so you can get the 11 pattern bundle for only $15! 

Saturday, January 4, 2014

Skinny Jeans and Titchy Threads!

Back in August, Titchy Threads had a huge sew along for her free Small Fry Skinny Jeans pattern. The pattern only came in size 2T. Ugh. Jenna needs a 3T and she's my smallest. I REALLY wished she could fit her booty into 2T, but she's like her momma and has too much junk in her trunk. I sulked and got over it. I accepted that I'd never be able to sew my kids a pair of Small Fry Skinny Jeans.


But then... CALL FOR TESTERS! Titchy Threads is expanding the available sizes for this pattern! JACKPOT! I wanted skinny jeans for my 5 year old son! He's got skinny legs and not that many jeans in his wardrobe. I got selected! {Insert a happy dance here!}


First of all, sizing on this new pattern is fantastic! It starts at 0-3 months and goes up to 12 years! This pattern is packed with options: full or half fly, adjustable waistband (yes, button hole elastic), detailed top stitching or not, and a version for SHORTS! Summer is coming... shorts season is just around the bend!


My son has several blue denim washes in his pants drawer, so I decided to go with black (also, I already had black stretch denim in my fabric stash). This pattern tapes together beautifully! The pieces are easy to trace and include notches and grain line markings! It's a very professional pattern that both beginners and advanced sewists (I used a fancy word!) alike with enjoy.


One thing to take into account is that this pattern is not a quick sew. The details are simply amazing, but those details take TIME! The pattern comes with multiple options. You can have a full zipper fly or a half fly (mine are the half fly with no zipper). You can add inset pouch pockets with a coin pocket option or you can do front patch pockets like I did. You can do top stitching on the waistband or complete a version without it (I did without for my test pair). It has details and tutorials for flat felled seams and button hole elastic. My son is SKINNY! We don't buy pants off the rack unless they have adjustable waistbands! These pants have the adjustable waistband included! YAY! {Insert another happy dance!}


With this pattern, you can use the solid neutral fabric for the main fabric. It's safe. It matches everything. Then add those pops of color for the contrasting fabrics hidden inside the pockets and the waistband! I decided to add a pop of color with Illustration Ink's Dots in Red designed for Robert Kaufman. It adds a little super hero touch to my little man's wardrobe. You gotta love super hero allusions! You can JUST see the red peeking out from behind those front patch pockets.


 Keep watch for these pants to hit the scene some time this next week! Follow Titchy Threads or sign up to follow me by e-mail over on the right of the screen. ;) Happy Sewing!

Thursday, December 19, 2013

Calling all Knights! {Testing for Charming Doodle}

I was so lucky to see Elisa Clark's post announcing a Call for Testers last week. I saw the preview and was in awe! I knew immediately that my son would FLIP and love me to the moon and back if I made him that hoodie! (Okay, he loves me to the moon and back anyway... but I love making him happy!) Here was the pic from the Call for Testers on Charming Doodle's blog. (Keep reading... there's a coupon code buried in here...)


Imagine my surprise when I got the e-mail saying I was selected!!! I was THRILLED! Yay! My son wanted orange for his hoodie... then we settled on maybe a golden orange. I went to the store and found neon colors or team in stock... no orange or gold. So I grabbed the bright blue and went with it. I knew I had a stash of ribbed knit at home, so I decided to go with blue and grey. 


The construction took me several hours, but the end result is SO worth it! My son was so happy! He immediately declared it his favorite jacket and asked if he could wear it to school! 


The Knight Hoodie features two large front pockets to keep those hands warm! It's sized from 2T to 10 year but I heard a rumor that the designer is planning on sizing it up to adults!!! The zipper goes all the way and is very easy to attach! Do not let the zipper scare you away! 


The 'armor plating' is added throughout the construction. The pattern includes very good pics for the visual seamstress (like me!) and makes putting this jacket together very easy. 


The elbow and helmet armor plating really MAKE this look. It's unique and full of fun! Oh, and take a look at how it looks with the hood DOWN! Just unzip and the hood lays perfectly out of the way! I LOVE it! Be sure to go subscribe to her blog. She's got some great patterns planned for spring 2014! 


So if you're little Knight loves to dress the part, you will want to pick this pattern up from Charming Doodle! Use code DECEMBERKNIGHT at her store HERE  between now and Christmas to save $3 off the pattern! YAY!!! Merry Christmas and Happy Holidays and all those other greetings and salutations! 

Wednesday, December 18, 2013

It's ANNA! {New Pattern Release}

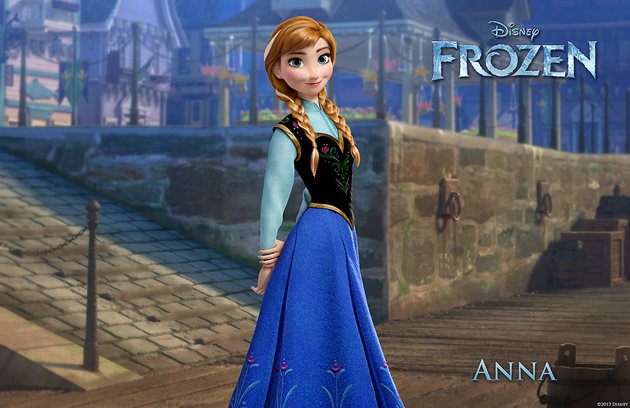
Once again, Megan of Made for Mermaids has out done herself! This time, she's tackled Disney's new movie, Frozen. The first of her Frozen patterns is Anna. I was LUCKY to get chosen to test this weekend! (Okay, I was little more than lucky, I was super excited and wanted to jump up and down when she said I was in! YAHOO!!!!!) A little birdy tells me Elsa is next on the list... Shh!!! Don't tell anyone!


One problem... I don't have an embroidery machine. IF you do, she gives you links to an awesome bodice design and the floral design for the skirt. She also provides some amazing templates if you want to paint your bodice. I suck at painting fabric. Really, it's bad. We're not even going to go there... I left my bodice blank. I still love it!


The dress has a zipper closure in the back. The bodice can be done in a variety of fabrics. I did mine in corduroy for the cooler weather we have right now. I trimmed my bodice in an iridescent ric rac for contrast, but many of the more true Anna dresses had gold trim.


The bodice is fully lined and directions for the zipper are very clear! If you've never done a zipper on a dress (writer raises her hand), don't let that stop you! I've done zippers on bags time and time again... but this was my first on a garment! (My second came the next day! But that's a post for later this week...)


The blouse underneath is a separate piece! This is great because you can use it for other outfits or change out multiple colors! The long sleeves are perfect for that winter theme! I love the elastic for easier dressing with little wriggly princesses.


I also made cotton velour leggings to keep her warm during this photo shoot... then you can barely see them in the pics! But it helped to keep her warm! I love the length of the dress! It's perfect for the Anna look!


So head on over to Made for Mermaids (on Facebook, Etsy, and Craftsy!) and grab your pattern! There's still time to get one of these sewn up and under the tree for your little Frozen fan! Hurry! Get $2 off if you buy before Monday! If you buy on Craftsy, use code ANNAFROZEN. If you buy from Etsy, the price is already adjusted! HURRY!

Friday, November 1, 2013

The Candy Waltz Pattern Collection

Once again, Candy Castle Patterns got me all excited with her new patterns. Yes, that's right, patterns with an S!!!! This newest release is a 3 pack! It's ballet themed set with the names of the patterns all inspired by The Nutcracker play. The collection is The Candy Waltz Collection.


You're going to love these! I used chiffon (my first experience with this stuff) for my skirt. I should have practiced more and read up on it more. I ruined the first cut of fabric and had to re-cut... It's a good thing I buy more than I need! But you can make this skirt with voile, satin, silk, and even knit! I love that there is 2 styles of the waistband, using a separate knit or the doubled-over skirt fabric. This skirt is called the Sugar Plum Fairy Skirt and comes in sizes 3 months through 16yr PLUS Ladies (X)XS and SM/M!!!


The Candy Wrapper Vest is probably my favorite of the collection! This is a cropped sweater that wraps around the front and can tie in the back or around again and in the front. There are 3 options for the ties and you can use MANY types of fabric, including knit, stretch suede, faux fur, stretchy lace, or anything else you can dream up! This pattern includes the same children's sizes through 16yr but also adds ladies up to size large! I think I need one of these! I'm already planning a matching vest to go over Christmas dresses! This pattern is perfect for that!


Lastly is the Licorice Bits Legwarmers! Are these names fun or what!?!?! If you sew, you're going to LOVE these! They sew up so quickly!!! I did the regular version for Jenna. She loves them! She did not want to take them off! She spilled juice on the skirt but still wanted to wear the vest and legwarmers (she calls them warm leggers!) to big Sissy's concert band performance later that night! We got quite a few compliments are her ensemble! (And if you're wondering... the leggings she's wearing are LilyGiggle Petunia Petal Pants without the petals! I NEEDED black leggings and didn't have any!) Other options for the legwarmers include ruched and instructions for adding ribbon ties. I used regular polar fleece and then a lycra/cotton knit (for the bands) for mine. The legwarmers are perfect for babies! Think about those little legs this coming winter... you can't keep a blanket on the infant seat and those little legs just kick, kick, kick it off! Or if you're like me, you use a sling or wrap and their legs are usually out in most of the positions. These legwarmers are great for keeping those legs warm! These would be perfect stocking stuffers or quick gifts this holiday season! These have the same sizing as the Candy Wrapper Vest, so ladies get a size too!


Whether you buy the full collection or just one of the patterns, this one is sure to be a staple in your winter wardrobe! Head on over to Craftsy and check it out!


Friday, October 18, 2013

Rapunzel: The Everyday Princess Dress

Halloween is JUST around the corner... yes, despite all the Christmas stuff you see in stores,  we still have Halloween up first! My friend Megan, owner of Made for Mermaids, is coming out with her Everyday Princess Dress Collection. Minnie, Cinderella, and now Rapunzel are out in time for quick dresses before Halloween!

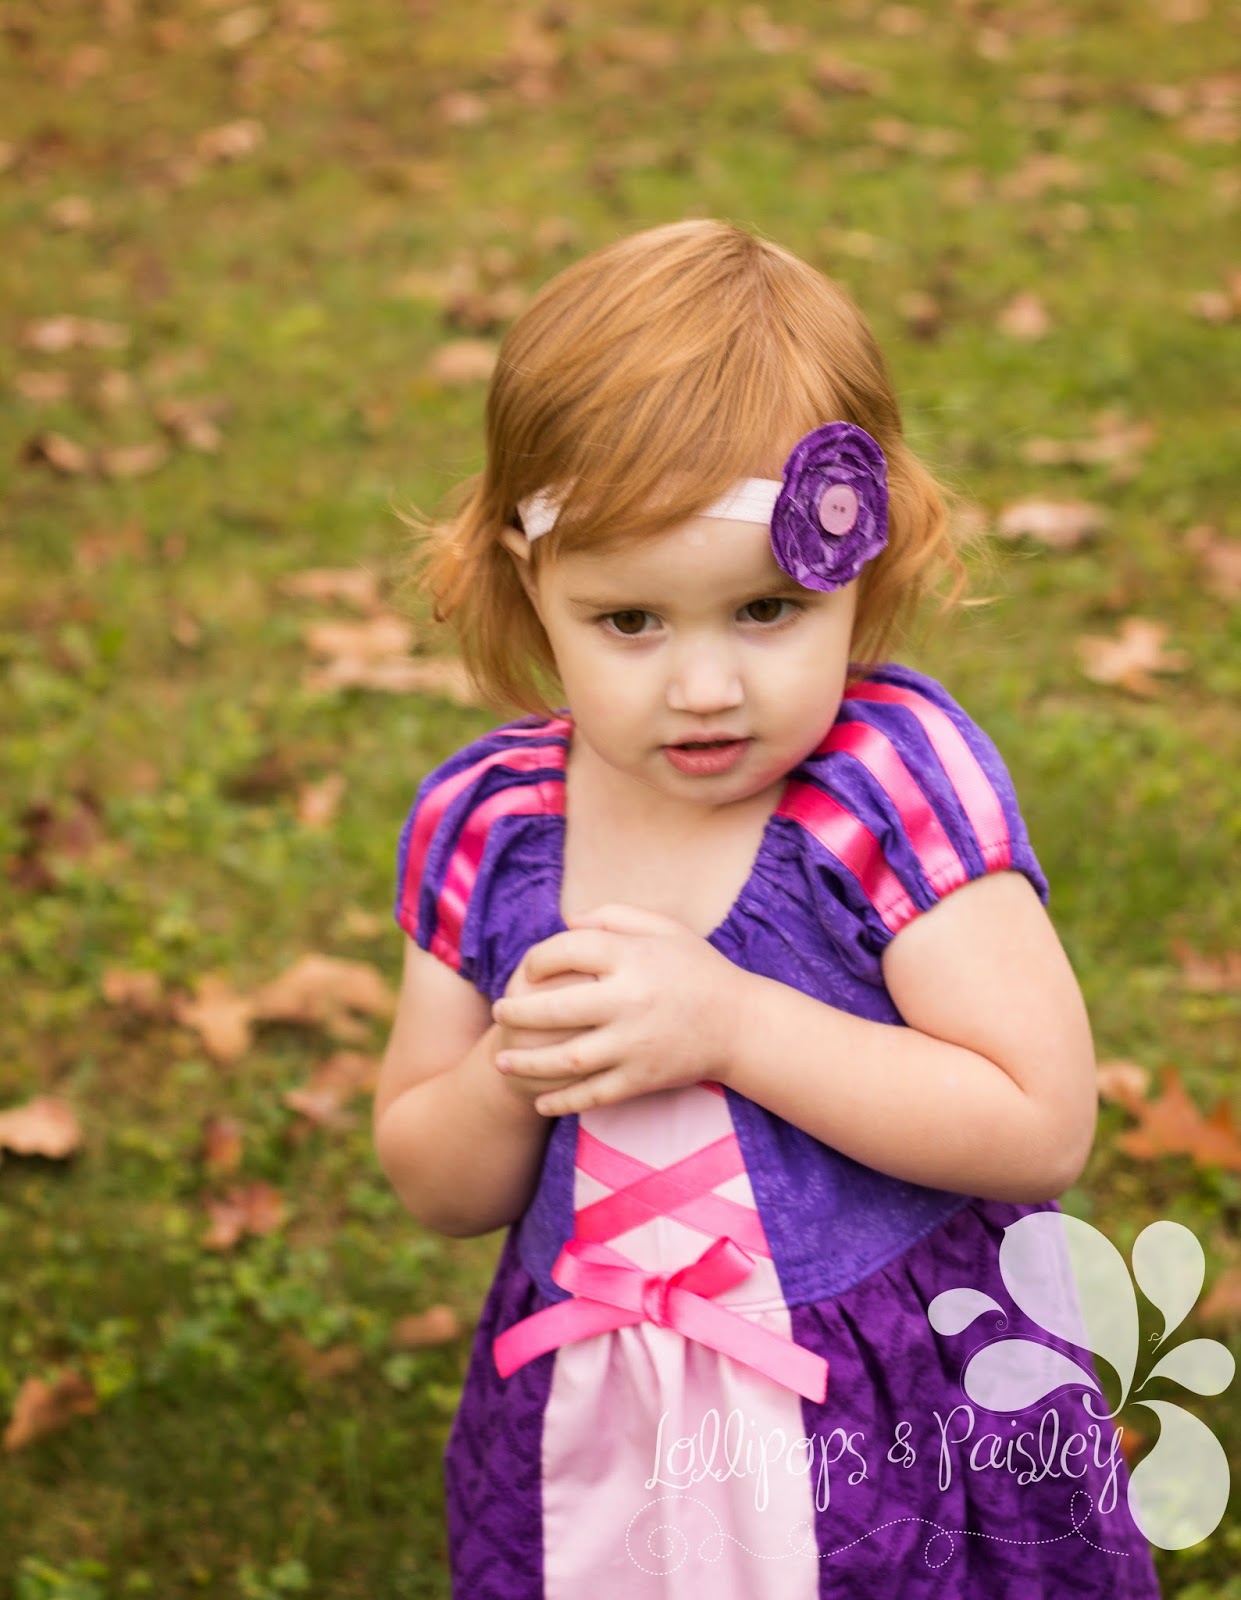
I had the pleasure of testing Rapunzel for my baby girl. She LOVES Rapunzel! Her bedding is Rapunzel! So I jumped when when I saw the testing call for this dress!

I attempted to sew it up late one night and totally screwed up the center bodice piece placement. I'm still scratching my head over why I thought it looked right before I serged and top stitched... but it was finished before I figured it out! So the bodice insert piece SHOULD be wider at the top and narrower at the bottom to give the illusion of a narrow waist, like the princess. ;)

I plan on making another dress, but I've got to finish up some orders first. It could be the 30th by the time I make her another dress...


This dress pattern prints out very easily! It went together easily and includes pattern pieces for several fabric flowers! The tutorial is full of pictures illustrating every step of the way! She even added extra wording to ensure that you won't make my mistake as easily as I did (meaning it's even more difficult to NOT recognize that you're putting a piece in upside down!).


The tutorial shows you exactly how to do those pretty little sleeve and bodice details. It also discusses elastic and how to judge what you're using and if you should make adjustments to the suggested lengths based on the type of elastic you're using.


Let's talk headbands... This one comes with tutorials for 2 types of flowers AND the measurements for headbands! SWEET! I add my flowers to a clip and add a loop to the headband so you can clip any hair bow to it.


This dress is constructed from 100% cotton fabrics so will last far longer than those store-bought costumes that are really only meant for a few hours of use on Halloween night before they fall apart. MY plan is to sew up all the Everyday Princess Dresses, add them to a trunk, and give it to her as a Christmas present. She LOVES to dress up! This way she can play dress up all year long and I don't have to continue replacing or repairing flimsy store-bought dresses!


So run over and grab the Rapunzel pattern before Tuesday while it's on sale for only $4!! Then favorite Made for Mermaids so you catch all her future Everyday Princess dresses as well!